Creating a Cost Tracker Project
How to create a Tempo project in Cost Tracker
Important
Working with Tempo Cost Tracker requires the Tempo Cost Tracker Access global permission.
When you create a Tempo project in Tempo Cost Tracker, you are simply creating a project container and using a Jira filter to collect issues to define the scope of your project. Creating a project is easy. All you need to get started is:
Install Tempo Timesheets - learn all about Tempo Timesheets here
A Jira filter (JQL) that defines the scope of your project
Your filter should contain all the issues that you want to track as part of your project. You should also ensure that project team members have the appropriate permissions to log time against these issues using Tempo Timesheets. If you do not have an existing Jira filter that describes your project, it's recommended that you create one beforehand.
When you create a Tempo project, you are considered the Project Owner. You can share a project with others, as well as transfer the Project Owner role to another person. The individuals with whom you’ve shared the project can modify the project. The only thing they won’t be able to do is change the Jira filter, which defines the project scope. Only a Project Owner can import a different Jira filter to change the project scope.
Warning
Cost Tracker does not currently allow you to import a Jira filter that contains more than 10,000 issues.
Watch this video to see how to create and modify a Tempo project in Cost Tracker:
From Tempo sidebar, select the Cost Tracker icon
 , to get to the Cost Tracker home page.
Click Create Tempo Project in the upper-right.
In the Create Tempo Project form that opens, fill in the information:
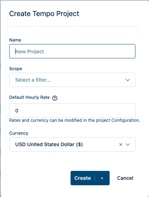
Enter a Name for your project. You have complete flexibility in naming your projects so that it's easy to apply any of your organization's standards. You can use any UTF-8 character, including emojis! The default name is 'New Project'.
To define the Scope, select a Jira filter containing the issues you want to import to set the project scope. Favorite filters appear at the top of the list in alphabetical order. All other filters are ordered alphabetically.
Enter a Default Hourly Rate for all project team members. When you enter a rate, you will see any actual costs incurred to date immediately. You can set a specific rate for each team role and each team member later on.
Select the Currency to use for this project.
Click Create to confirm, and the Tempo project is created.
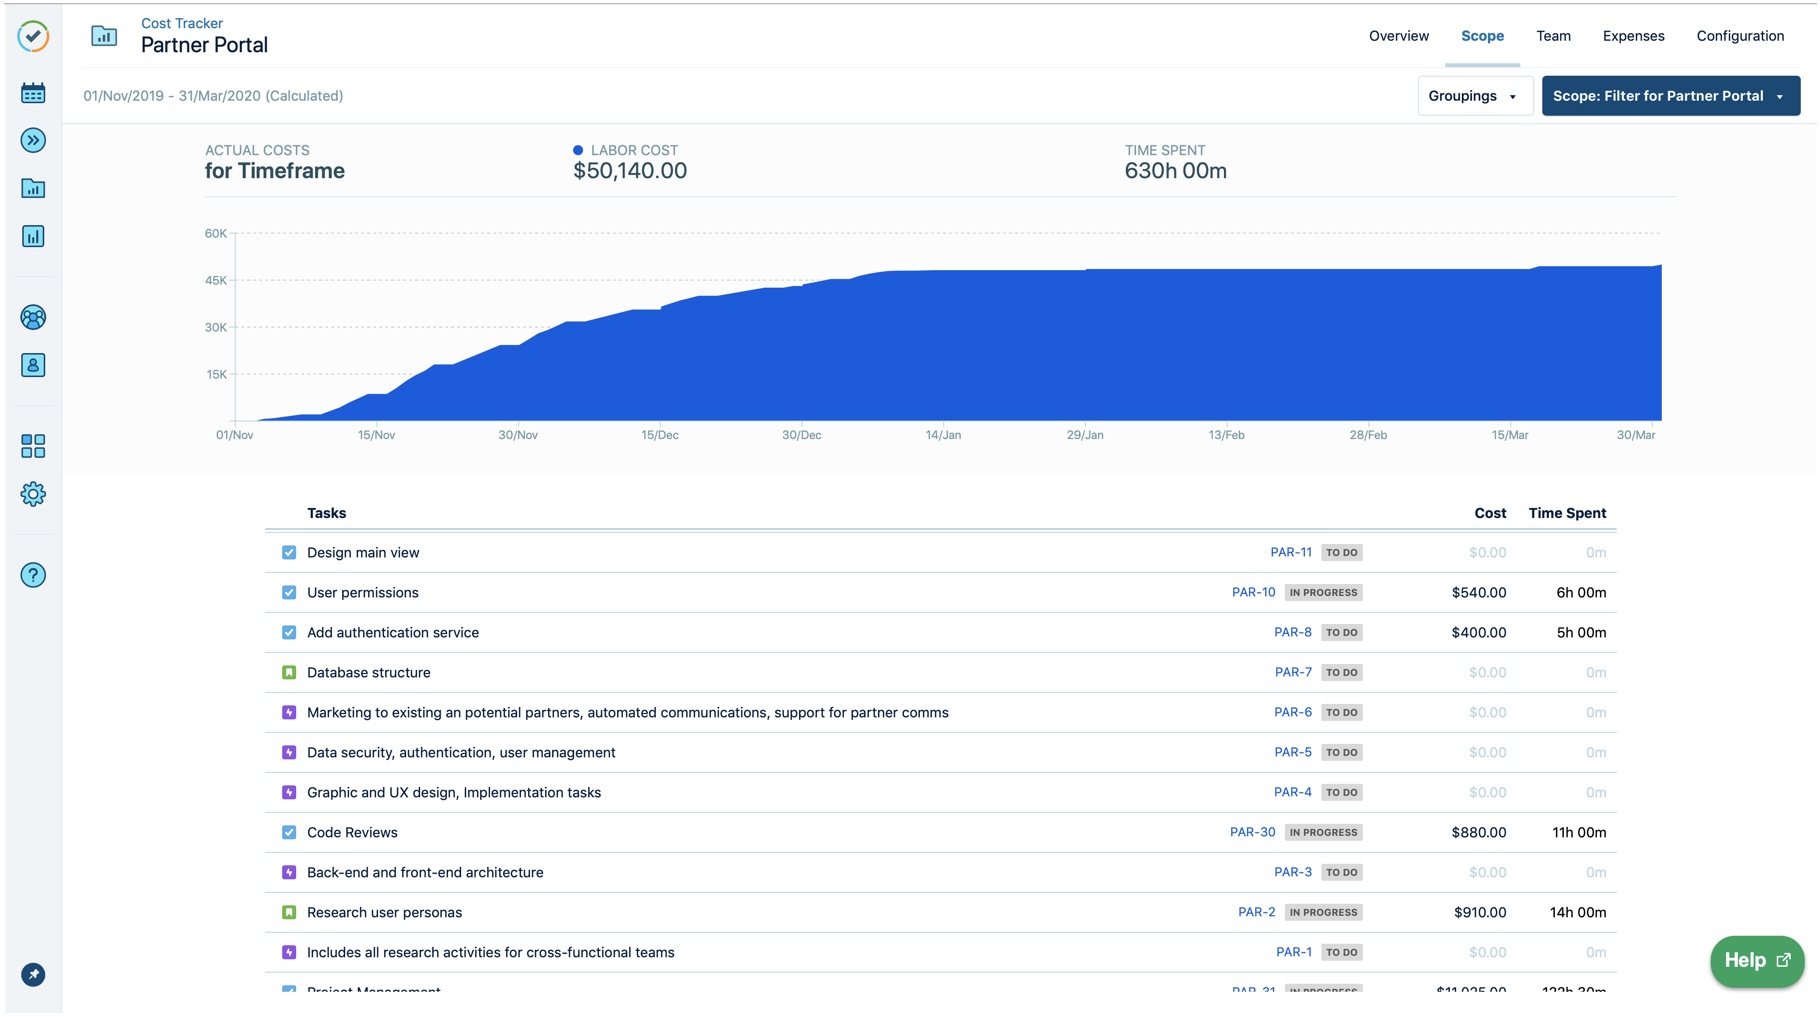
All issues from the Jira filter are imported according to the default Jira order and displayed in the Scope view shown below. The project is added to the project list on the Cost Tracker home page.
Tip
All fields here are optional. You can simply create an empty project using default values, and the 'New Project' is added to the project list on the Cost Tracker home page. You can set your scope and configure your project settings at any time.
To include time logged on any issue subtasks in your project costs, you must include subtasks in your Jira filter.
If you log time for a future date, that time is not included in your current tracked costs. Costs are actualized when they occur.
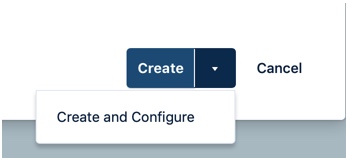
Creating and configuring your Tempo project:
You can both create and configure your project right away simply by selecting Create and Configure from the Create drop-down. This is especially useful when you have the project details you need at hand, such as your budget. The Configuration view opens immediately.
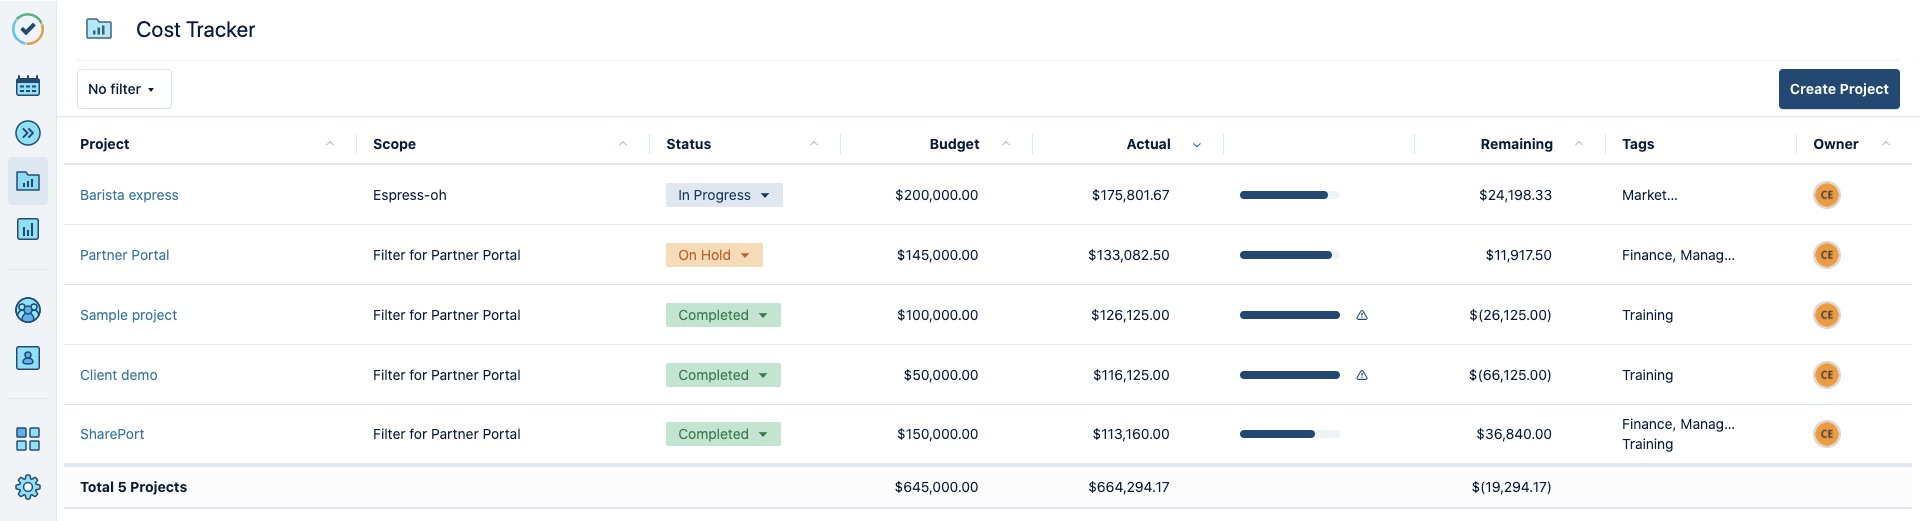
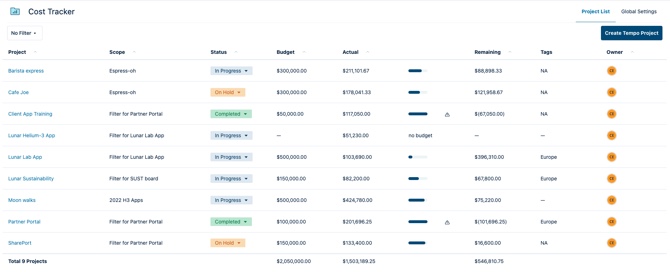
Click the Cost Tracker link at the top-left to go to the home page and view a complete list of your projects. The amount budgeted and the total actual costs for each are displayed.
Important
The amounts displayed reflect the totals for the last time you accessed the project. When you open a project, total hours worked are automatically updated.
On the Cost Tracker home page, select a project from the list to open it.